Hola, how's your midweek fellow crafters?
Living in a developing country has some drawbacks. The fabric prices here are superbly cheap ($1.5 - $4 per meter), but the quality is just not the same with the imported fabrics (what I mean by imported is the "branded" fabrics such as Kokka, Moda, Amy Butler, Riley Blake, etc). The thickness and the weight is different (our local cotton print fabrics are lighter). Not to mention when you wash our local cotton print, the colour will not be as bright as the imported one.
Regardless the fabric quality, one thing that really bothers me me is the design. Somehow the fabric designs are....not appealing. I know it's about taste, but when I used to see cute designs such as Robert Kaufman's Urban Zoology or sophisticated designs such as Amy Butlers, believe me, the prints at our local stores are just..... less appealing. Around 90% of the print fabrics here uses flower pattern. There are some interesting patten such as glasses and animals, but the execution is just bad! The colour combination are not very pleasing for the eye and the print is not very neat. To sum up: awful. It even makes me wonder, does our tastes in pattern and colours are that bad?
I am sure Fili will tell more about the fabrics quality here. But now, I would like to share my happiness because after weeks, my package from the US has finally arrived! I actually only wanted to buy a fabric from Moda's Hometown due to high demand, but since the shipping is up to 9m, I also bought other fabrics. Here they are!
Thursday, March 28, 2013
Friday, March 22, 2013
Birdie Wallet
Hulo friends,
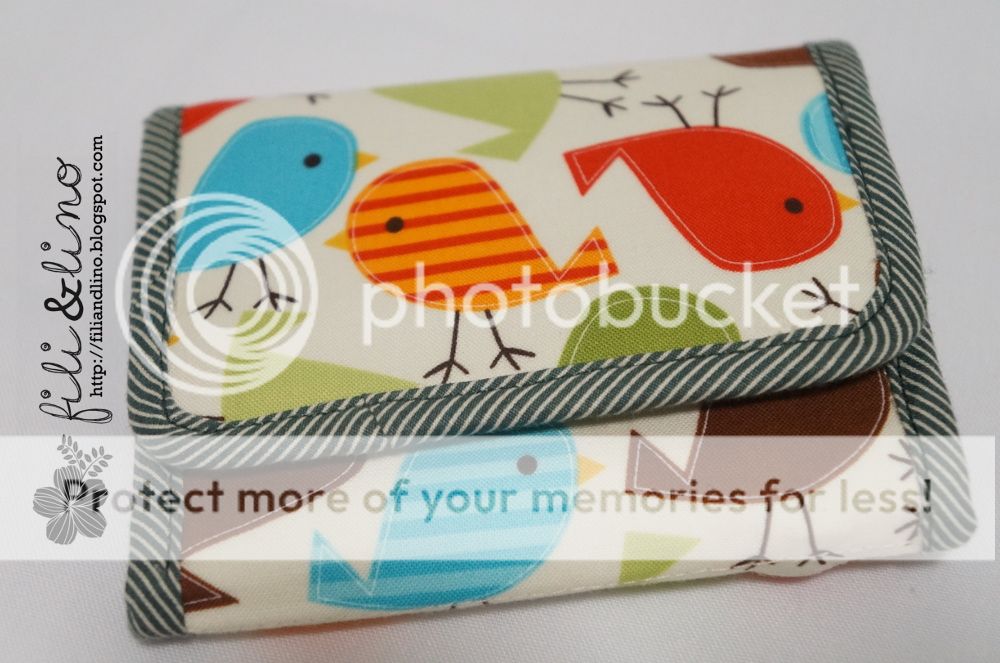
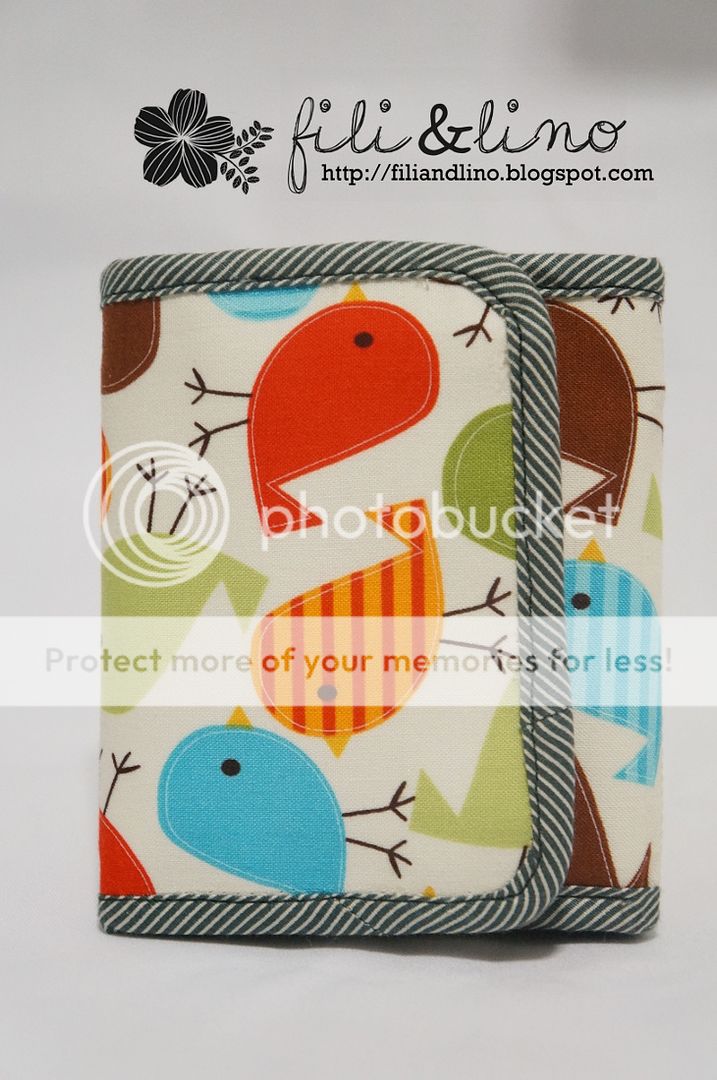
A friend asked me to make a wallet from one of my fat quarter fabric, Birds in Bermuda from Urban Zoology line by Ann Kelle for Robert Kaufman. I bought it at Quilt and Craft Fair in Canberra last year. It cost me around $3-$4 per fat quarter (believe me, the fabric price in Australia is EXPENSIVE!).
She asked me to make a three panel small size wallet. I have to say, sewing a bias binding on a wallet is not easy. Why? Because the thickness is different in every part, and it affect the bias binding, no matter how strong I stretched the fabric. There are places where I have 6 layers of fully interfaced fabrics, but there are places where I only have 2 layers! Regardless the messiness of the bias binding, here is the result!
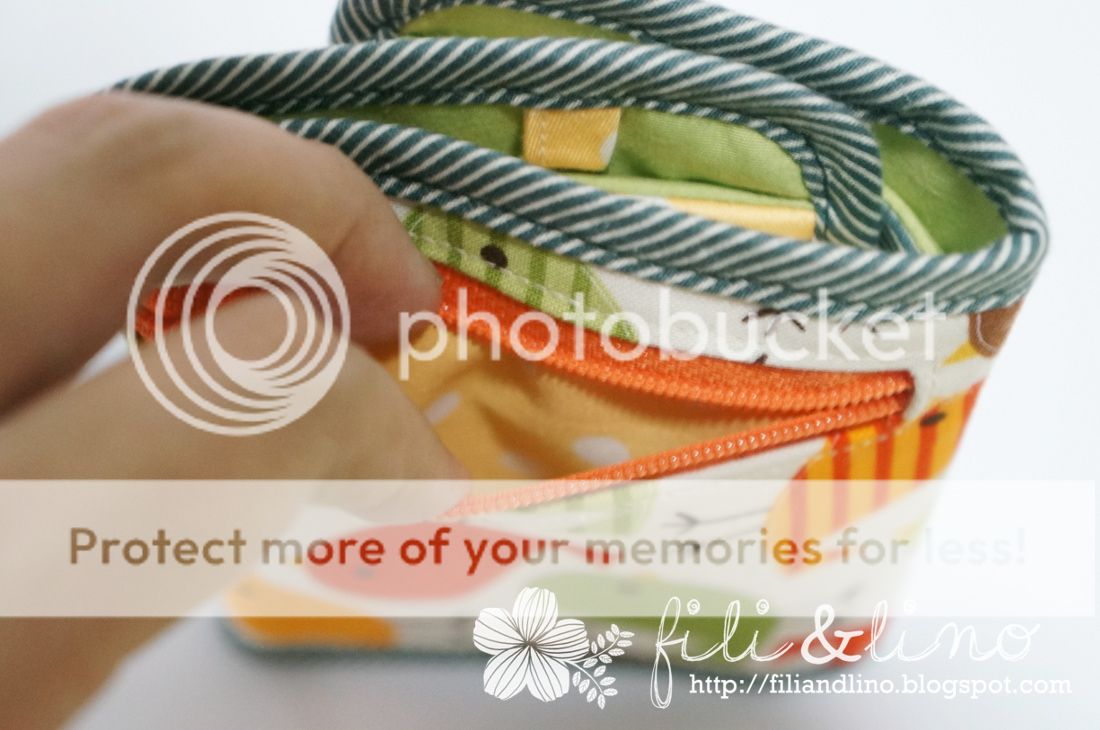
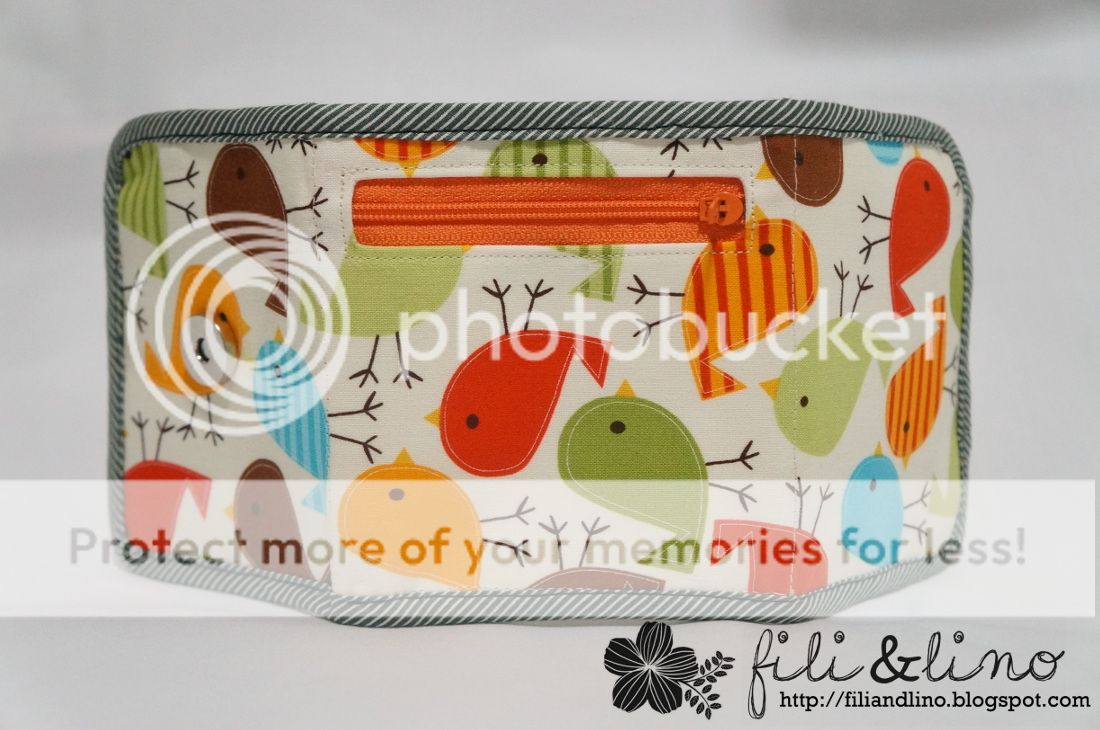
A zippered coin pocket in middle panel
Inside the pocket
The inside. Two cards pocket on left and middle panel, one card pocket and one photo pocket on the right panel. I interfaced all the pockets with medium fusible interfacing.
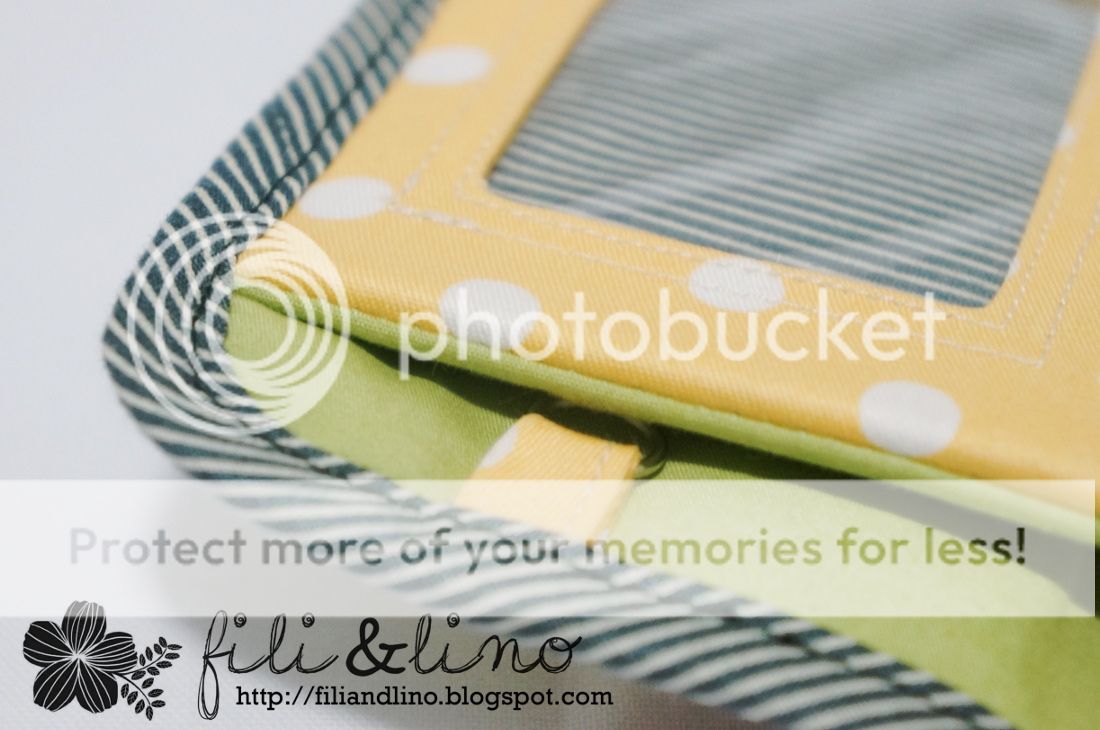
As you can see, I sew the folded area with zigzag stitch and straight stitch to make it easier to fold. As for the photo frame panel, I sandwiched the plastic between interfaced fabric, so the photo frame is sturdy enough.
A small ring that can be used to attach a strap or to place a key and put it inside your wallet.
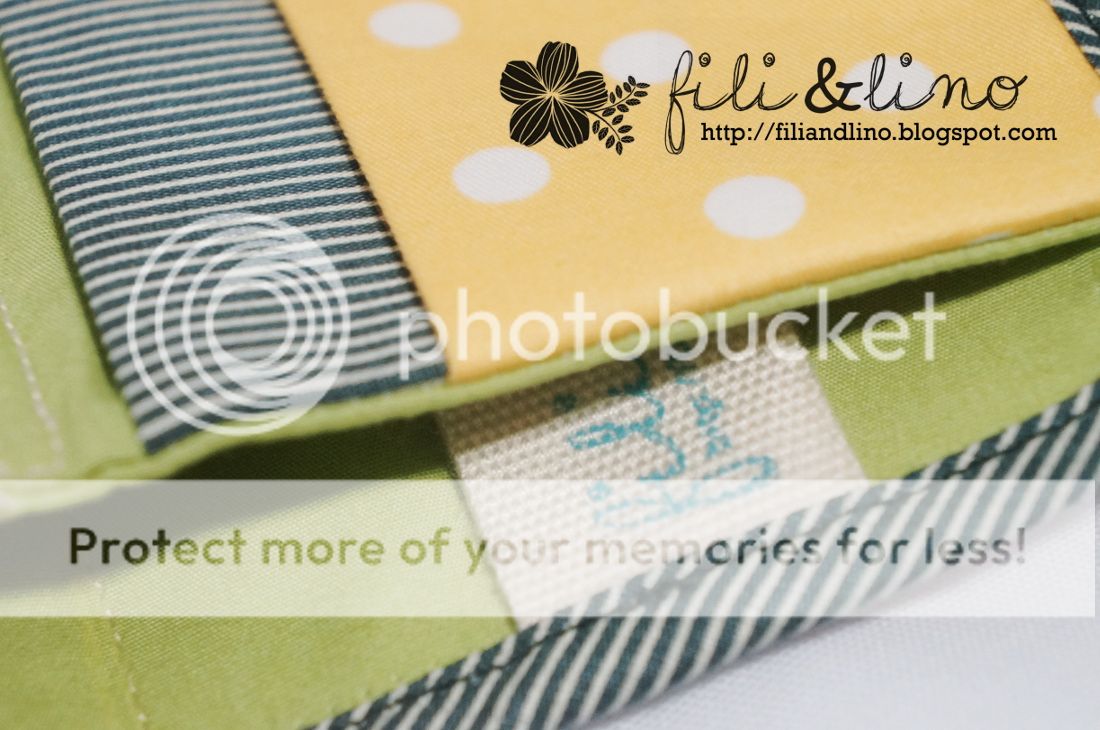
I'm a very peculiar person. Since our brand label is quite big, it doesn't fit anywhere! I tried to sew it in one of the pocket, and it didn't look good. So I attached it inside the money sleeve.
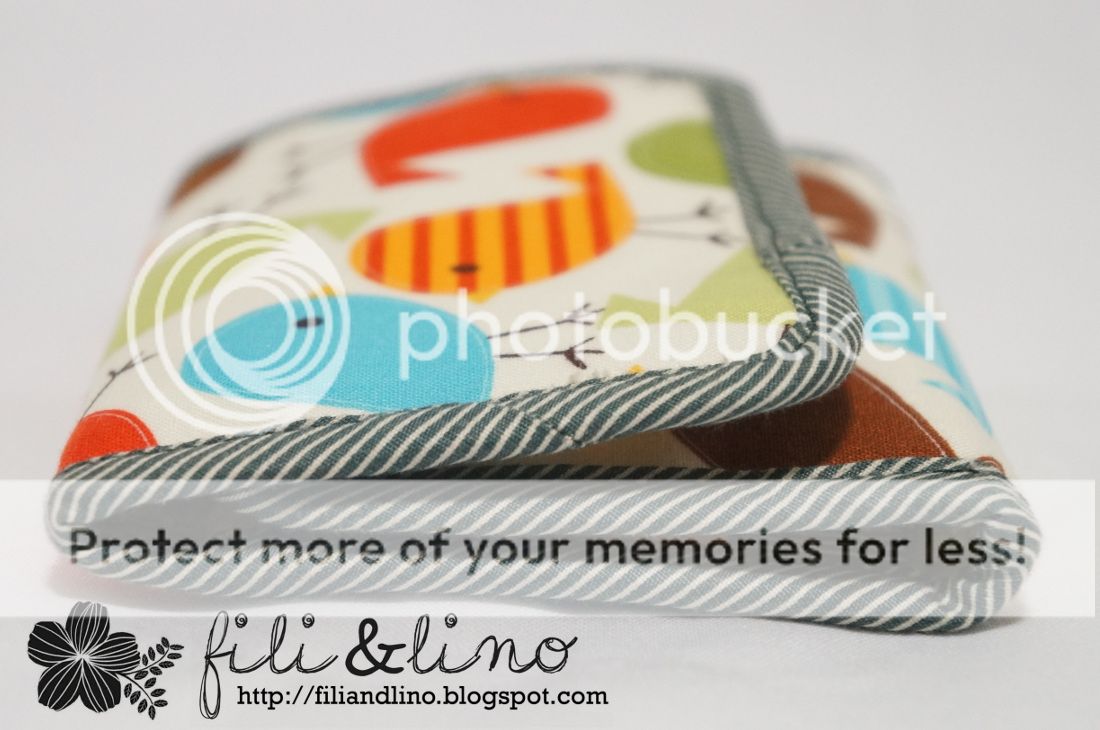
Neatly folded, which needs a little trick to sew it.
Why? Because if you have the same size inside and outside, when you put your cards/money inside, it will increase the thickness of the wallet and your wallet won't fold properly. That's what happened with my first wallet (that I gave to my housemate's daughter). Since then, I always cut the inside area 1 cm shorter (width wise) than the outside.
Voila!
That's the birdie wallet. Hope you enjoy it :D
Fili&Lino
Thursday, March 14, 2013
Oh so shiny...
January 6th, my first time using cool sewing machine Brother CP 7500 at Lino's house. I need one day to stop thinking that I'll break it just by touching and adapting with the technological advances. All the
features of this sewing machine makes me amazed, especially the variety of patterned stitches. I was thinking of how many interesting shape that I can apply to every handmade I make! It really thrilled me.
That's for now, see you later :)
Fili&Lino
Sunday, March 10, 2013
Burlap-but-not Clutch
Hola crafters, how's your weekend so far?
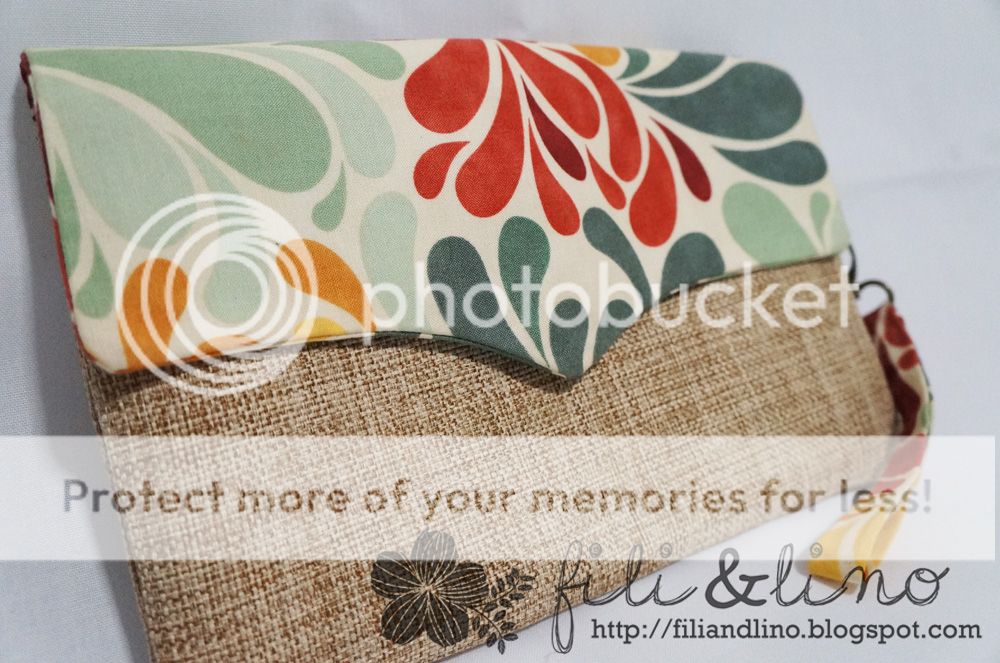
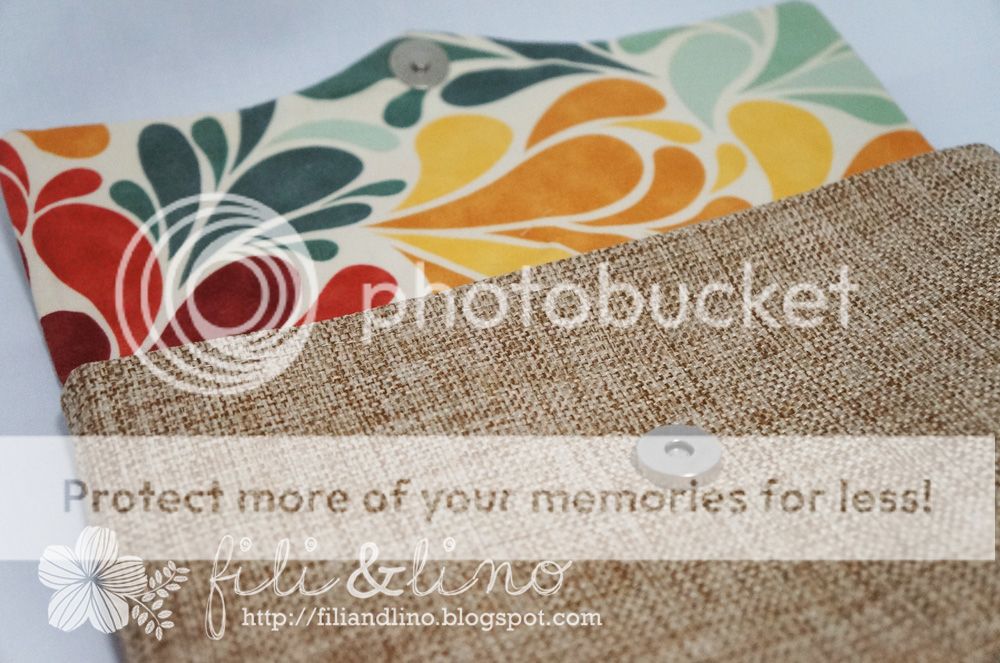
Today I would like so share my own party clutch. I've been obsessed with burlap since I found out how versatile it is. Not to mention I found this type of burlap that's very soft and smooth. I decided to combine this burlap with my fav Sea Garden Summer fabric from Cosmo Cricket. The size of this clutch is approx 27x17 cm. It's big enough for your wallet, mobile phone and some simple cosmetics. I also attached a strap so I can just hang it on my wrist.
The design of this clutch is not very original. I used the flap pattern from Amy Butler's Style Stitches book. I add the width of the flap aroun 7 cm from the original. As for the lining, I used a cream cotton fabric and medium fusible interfacing for the flap and the burlap.
So yeah, basically if you found me at any party, you'll see me with this burlap clutch. Who says burlap can't go to party?
Lino
Saturday, March 2, 2013
And the winner is......
Random.org and truly random number has picked the winner for our triangle pouch.
MAYEZINHA!
Once again, congratulations. Thank you very much for all giveaway participants. We're very happy and honoured to know that you enjoy our tutorials.
Keep reading our blog cause we will have another giveaway soon <3
Love,
Fili&Lino
Friday, March 1, 2013
Rolling Daruma
Hello,
This time we present you a tutorial on how to make a daruma pouch. You can find more about daruma here.
FYI, we had a 24 daruma projects before and this is some kind of a continuation of that project.
This time we present you a tutorial on how to make a daruma pouch. You can find more about daruma here.
FYI, we had a 24 daruma projects before and this is some kind of a continuation of that project.


