

Showing posts with label sewing. Show all posts
Showing posts with label sewing. Show all posts
Monday, May 11, 2020
Step by step: Bendera Garland dari Cheater Quilt

Monday, April 9, 2018
Double Zipper Pouch Pattern
Hello!
 Finally, we released the pattern of Double zipper pouch. We make some adjustment at the size, it's larger than our previous version ( Previous size L 13.5 x W 6 x D 5 cm. The new size L 16 cm x H 8 cm x D 6 cm). Check out our shop Here to purchase the pattern.
Cheers!
Fili&Lino

Cheers!
Fili&Lino
Friday, February 19, 2016
Twin Tote Bag
Hello, Fili here!
This week I had a little adventure with a Twin Tote Bag. This bag is different from the previous totes that I made because it's two bags made into one.


The bag has two main bodies with one pocket on each sides and one hidden pocket in the middle. The sewing method is like sewing a twin pouch but with a few modification. The bag has a volume (previous twin pouch that I made is really simple and didn't have any volume). I had some difficulties with the top squares, the zipper made it difficult to sew on the wrong side. I decided to sew the top corner in the inside and covered it with bias binding (always trust bias binding to help your day!).
That's my little sewing adventure this week, see you next time!
Fili & Lino
Sunday, November 8, 2015
Lunch Box
Hello!
Fili here! I intended to write this post last week but I had to postpone it since we need to prepare our next event. I'm going to talk about our latest finished custom order, a lunch box with thermal lining.


Our customer requested to use a laminated Kokka fabric as the main fabric. It's quite a challenge to sew this one, the laminated fabric wouldn't move forward when I tried to sew it on the machine. I tried a few tricks until I found that the fabric must be sewn with the wrong side in the bottom or sew the fabrics together with other parts so the laminated side won't stick.
In addition to that, sewing the thermal lining was very challenging. I must resew it several times to make the lining fitted. The thermal lining also looks pretty easy to tear apart, it only consists of a thin aluminium like sheet and some sheer foam. It doesn't have any fibers or grain, so I have to be very careful when sewing it.
This is the photo of the inside:

The lunch box is smaller than the previous one that I made, so I used a single handle on top instead of two handles in the front and back side.
That's it, see you next time!
Fili&Lino
Monday, October 26, 2015
Hand Stitch Practice
Hello, Fili here :)
I had a little problem with my sewing machine a few days ago: the thread was a little loose every time I sewed thick fabrics. I checked the sewing machine parts, cleaned it, changed the needle but the problem was still there. Probably it's because my sewing machine is already very old. After several times failed to top stitch a bias binding, I thought it's time to give it a rest and do a hand stitch instead. I still haven't mastered the technique to create a neat and flawless hand stitch, not to mention it takes me hours (two to four hours!) to do a hand stitch.
And this is the result of my hand stitch:


It looks better than before, isn't it? The valley and hill weren't as rough as before (see my previous hand stitch) and I must practice sewing faster.
That's it, see you later!
Fili&Lino
Tuesday, March 10, 2015
Blue Sneakers
Hello!
We had a fun project to make a set of billfold wallet, a make-up pouch, a small pouch and a pencil case using plain navy blue fabric combined with Geekly Chic Sneakers Blue fabric.

We had a fun project to make a set of billfold wallet, a make-up pouch, a small pouch and a pencil case using plain navy blue fabric combined with Geekly Chic Sneakers Blue fabric.

Saturday, September 20, 2014
Tutorial: Folded Two Compartment Pouch/clutch
Yo!
What happened? Two posts in a week? Yup, and we even have a tutorial post! This time we would like to share a tutorial for a folded-two compartment pouch. If you have made pouches before, this one is a very simple one. Just a twist from the usual pouch. This pouch actually only has one compartment, but since the zipper is in the middle, we can fold it into two and voila, now you have two compartments!

What happened? Two posts in a week? Yup, and we even have a tutorial post! This time we would like to share a tutorial for a folded-two compartment pouch. If you have made pouches before, this one is a very simple one. Just a twist from the usual pouch. This pouch actually only has one compartment, but since the zipper is in the middle, we can fold it into two and voila, now you have two compartments!

Friday, September 19, 2014
That Blue Dress
Hola!
Again, sorry for not updating this blog pretty often. Fili is busy with all the custom order and bazaar preparation while I just came back from three weeks vacation to the eastern part of Indonesia. Amazing place, I recommend you all to visit Flores, East Nusatenggara.
But today I'm not going to talk about my trip. I'm going to talk about the dress that I made. In the beginning, I just wanted to sew something, anything, any project. But after I saw the result, I decided to use the dress to go to my cousin's wedding reception in Bali.


Those two good looking men are my little cousins. They grew up too fast, too fast! And yup, this is the view from the wedding venue, which was exactly on the Nusa Dua beach.
Sunday, May 18, 2014
Tutorial: Double Zippers Pouch
Hello, it's Fili here :)
Mobile phone and digital camera are must-brought-items wherever I go. It's easier to carry them when I use my double zippers pouch. The pouch has two part inside, side by side. Double zippers pouch is one of the most challenging items that I have made. Nonetheless, trying to make a double zippered pouch is fun! Especially when I managed to solve the mystery on how to make this pouch much easier and faster.

Without further ado, let's check the tutorial! And if you're interested, we have a pattern you can purchase in Here.
Materials

Sunday, March 9, 2014
Random Rambling Sunday: Pink & Stripes
Hola!
This is Fili and Lino, doing a combined post for a sewing - recycle project!
Once upon a time, when Lino was just learnt how to sew, she often wonder around op shops (Vinnies and Salvos) to find some bargain fabrics. She found a around 1.5 x. 1.5 m of red white stripe light jersey fabric for only $2. She then combined it with Chinese linen, a lovely fuchsia from Lincraft. Some blog search on how to make an easy dress, voila, this is the result!

Monday, September 23, 2013
Random Rambling Sunday: Numbers don't lie
Night, Fili here :)
I'll talk about double zippers pouch this time.


I'll talk about double zippers pouch this time.


One of our customer requested this double zipper pouch. We never made this kind of pouch before so we had to figure out how to make this pouch. After some trial and error, I finally figured how to make it. It's true when I said that I got headache in three days in row when I made
this pouch. The result pouch was not very neat and symmetrical, it's really frustrating! After some examination here and there, I found out that my main problem is my inaccuracy. Accurate measurement is really important when making this pouch. Since I'm pretty careless with measurement, this pouch is really a challenging one. I'm someone who rely on my instinct too much!
There are still some flaw about the trick on making this pouch. There are some difficulties appear in some step so I need to find out more. Though it is still a long way to go to perfect the trick, for now, I've learned my lesson: accurate measurement helps a lot.
See you Later!
Fili&Lino
Saturday, August 31, 2013
That fully-zippered wallet!
Dear fellow Crafters,
Seems like we're in the mood of making more blog posts :D Today I (we!) would like to share something that we separately made, but actually based on the same thing: fully zippered wallet!


Seems like we're in the mood of making more blog posts :D Today I (we!) would like to share something that we separately made, but actually based on the same thing: fully zippered wallet!

Pilot

Second trial
Thursday, August 22, 2013
Recycle Jeans/Denim Backpack Tutorial
I must warn you guys before you decide to read this tutorial. There will be a lot of pictures involved here, so be prepared.

Sunday, July 21, 2013
Back then...
Hello, Fili here
This is a short story about a bag that was born almost 9 years ago.

It's from leftover fabrisc. The color catched my interest. There is not enough fabric for the strap so I used matching chiffon fabric as the strap.

The chiffon was not strong enough to handle the bag and I was not familiar with interface back then so I braid the chiffon to make it stronger. I also sew flower shapes into the flap to make it less plain.

That's it, a very short story about my early work. My english is becoming rusty, it's been a while since the last time I wrote in full english *cough*we rarely update here*cough*.
PS: For you who kindly read this, thank you for bearing it with me guys, really.
See you later!
Fili
Saturday, May 18, 2013
A bunch of travel wallet
Holiday is in the air!
No wonder we received lots of travel wallet requests from friends and families. I've made not less than eight (!) travel wallet already. Pfiuuh. So today I would like to share you the wallet that I've made. I've mentioned about this travel wallet before, but this time, I have more of them with different fabrics :)
The wallet dimension is (about) w 23cm x h 21 cm. The pocket inside the wallet has to be wide enough to store a passport, put your boarding pass and other documents, but not too big to make it comfortable in your hand.
Warning: some photos are taken with my phone camera, hence the awful colour and photo quality.


Friday, March 22, 2013
Birdie Wallet
Hulo friends,
A friend asked me to make a wallet from one of my fat quarter fabric, Birds in Bermuda from Urban Zoology line by Ann Kelle for Robert Kaufman. I bought it at Quilt and Craft Fair in Canberra last year. It cost me around $3-$4 per fat quarter (believe me, the fabric price in Australia is EXPENSIVE!).
She asked me to make a three panel small size wallet. I have to say, sewing a bias binding on a wallet is not easy. Why? Because the thickness is different in every part, and it affect the bias binding, no matter how strong I stretched the fabric. There are places where I have 6 layers of fully interfaced fabrics, but there are places where I only have 2 layers! Regardless the messiness of the bias binding, here is the result!
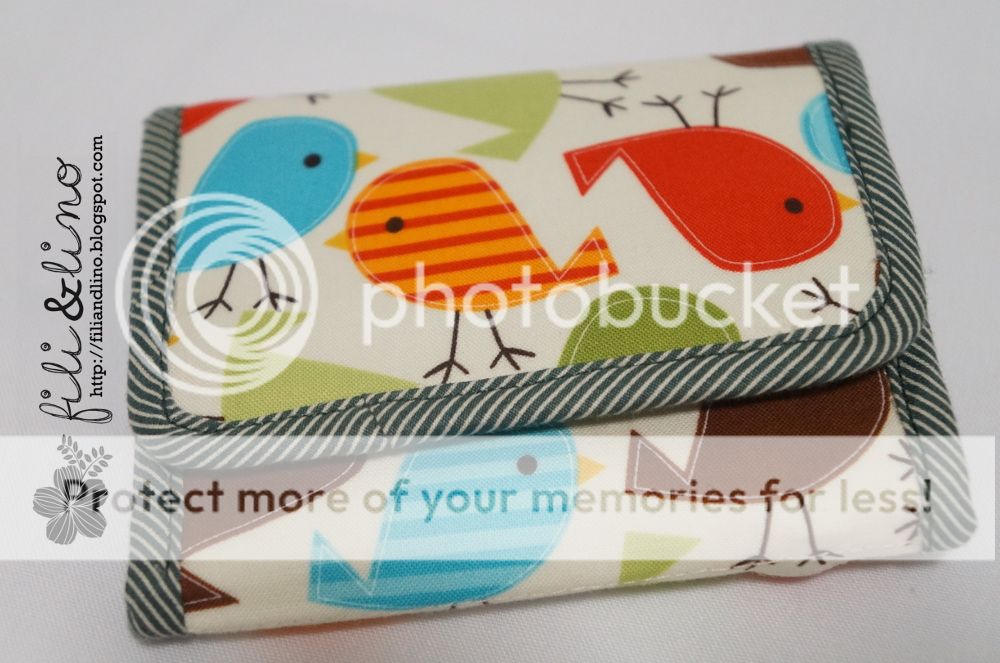
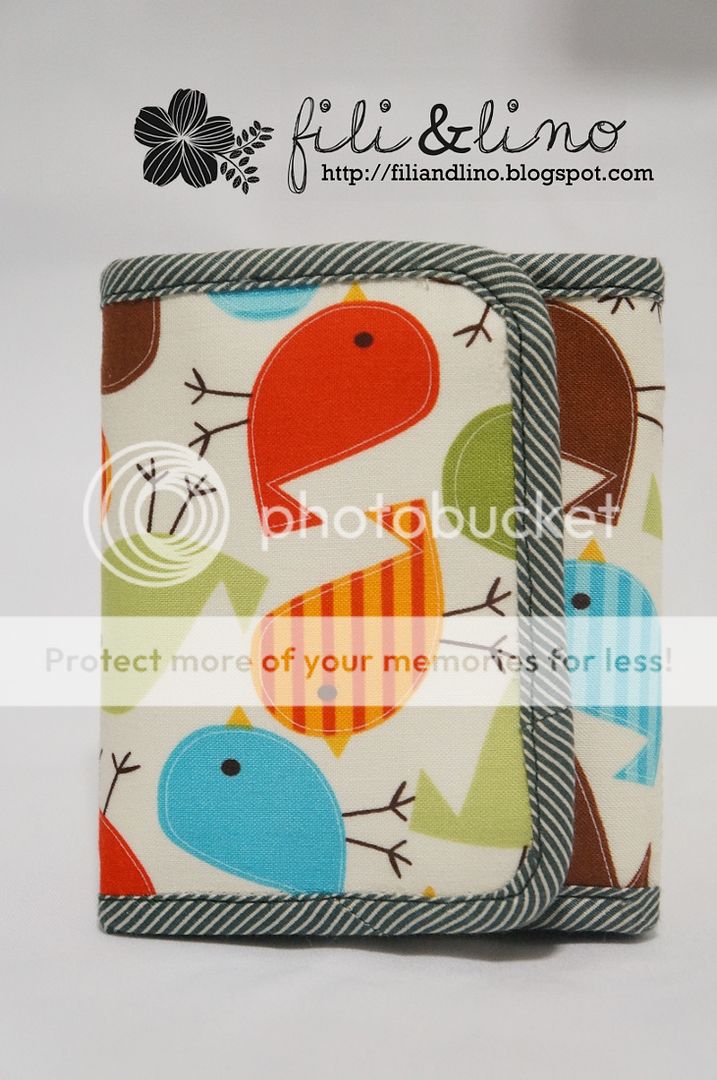

A zippered coin pocket in middle panel
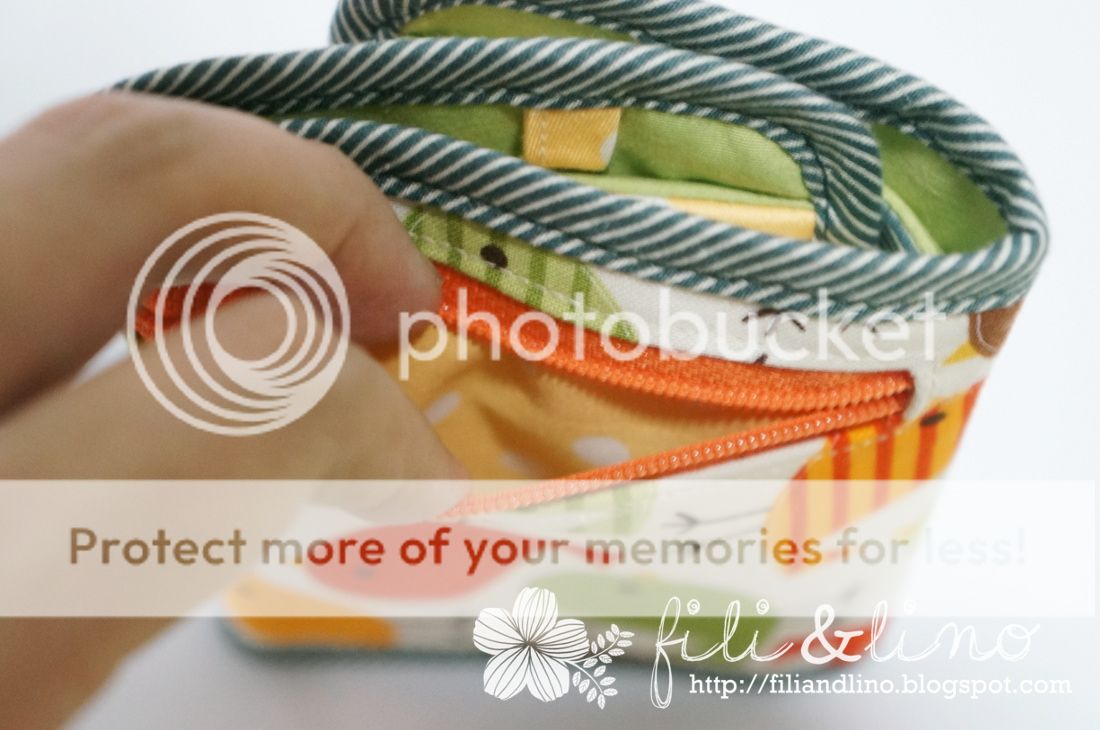
Inside the pocket
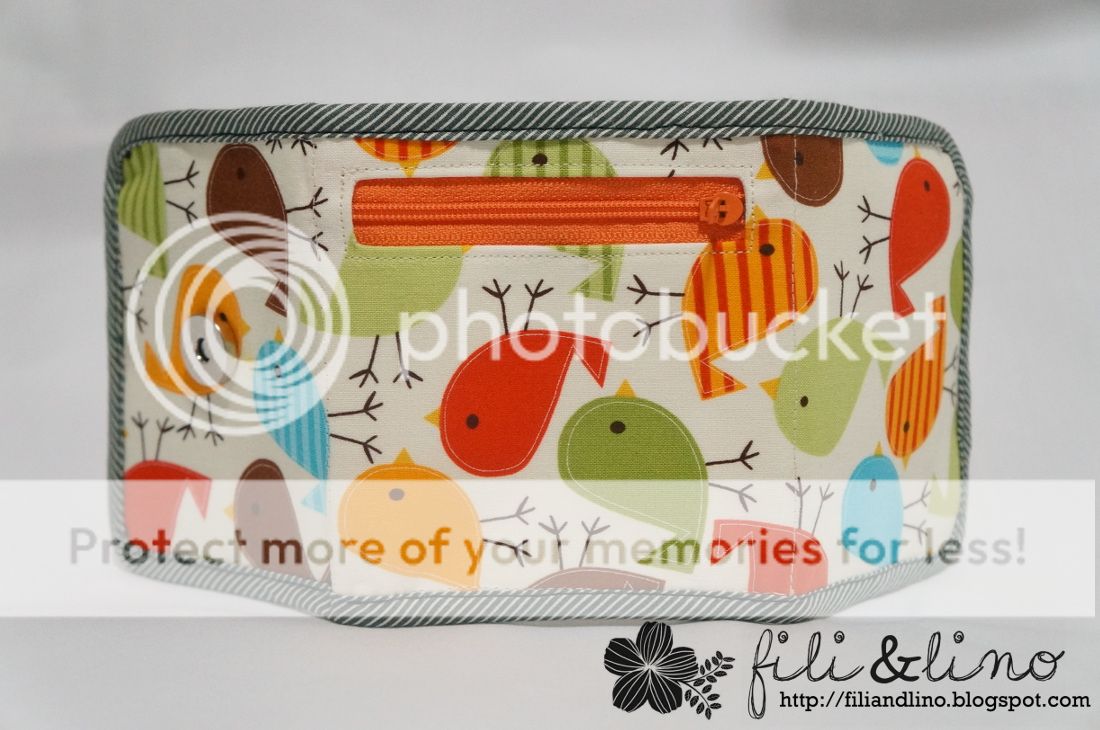

The inside. Two cards pocket on left and middle panel, one card pocket and one photo pocket on the right panel. I interfaced all the pockets with medium fusible interfacing.

As you can see, I sew the folded area with zigzag stitch and straight stitch to make it easier to fold. As for the photo frame panel, I sandwiched the plastic between interfaced fabric, so the photo frame is sturdy enough.
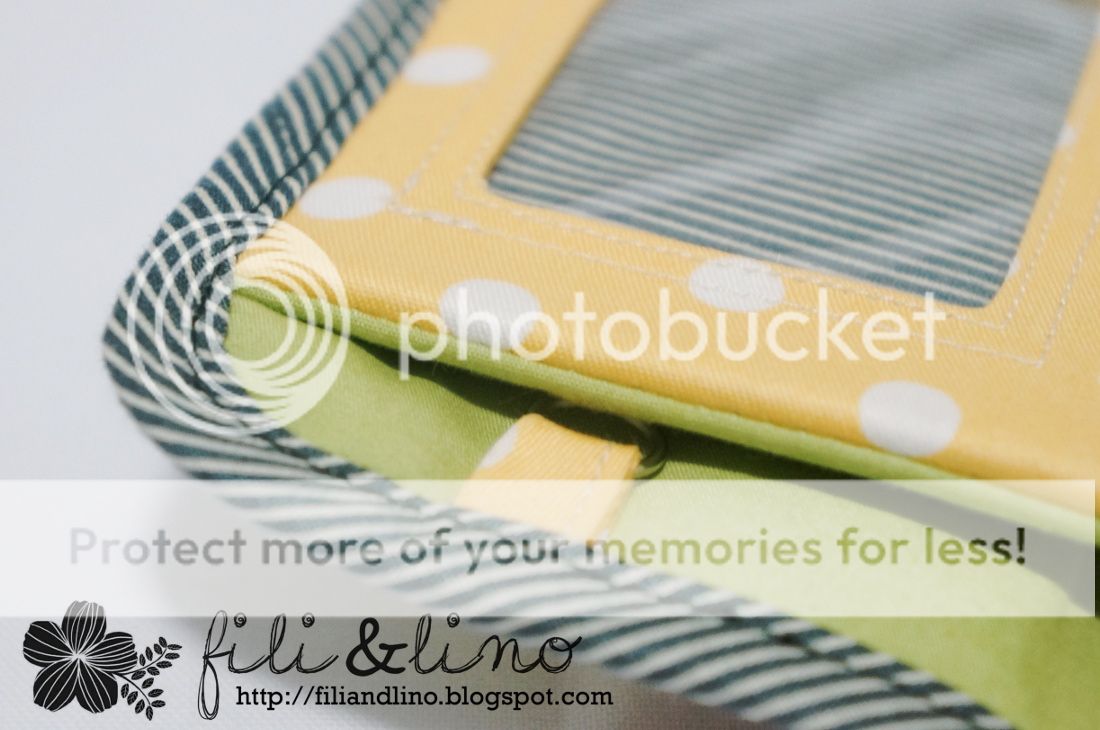

A small ring that can be used to attach a strap or to place a key and put it inside your wallet.
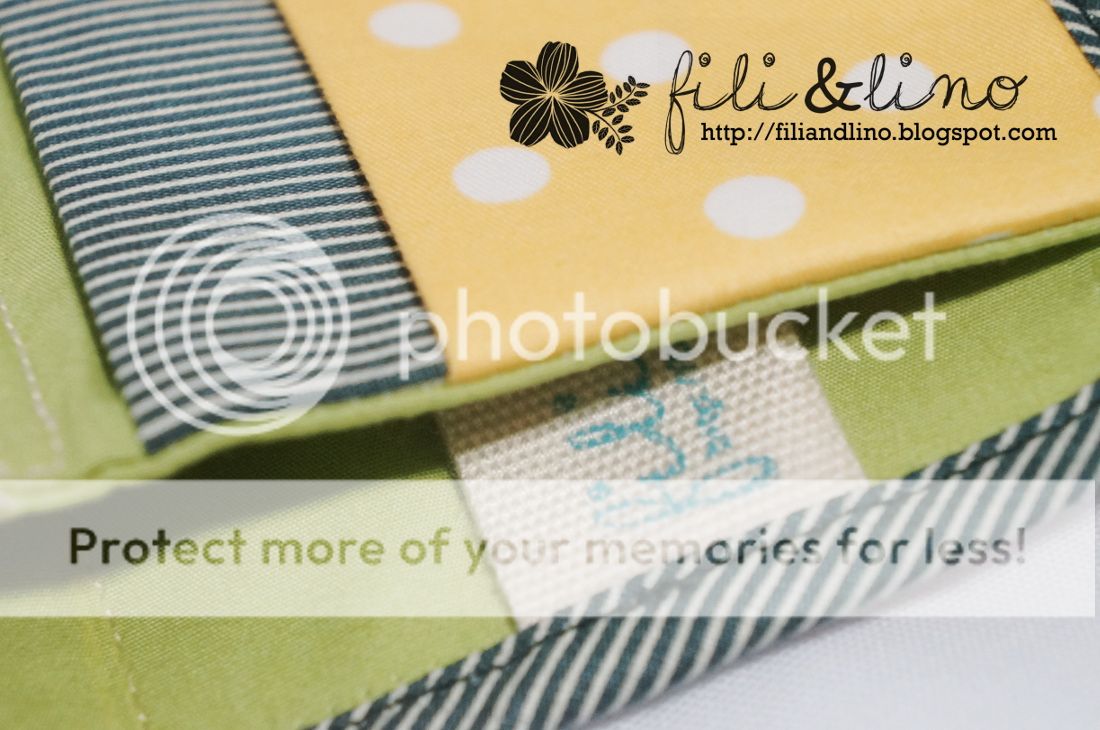
I'm a very peculiar person. Since our brand label is quite big, it doesn't fit anywhere! I tried to sew it in one of the pocket, and it didn't look good. So I attached it inside the money sleeve.

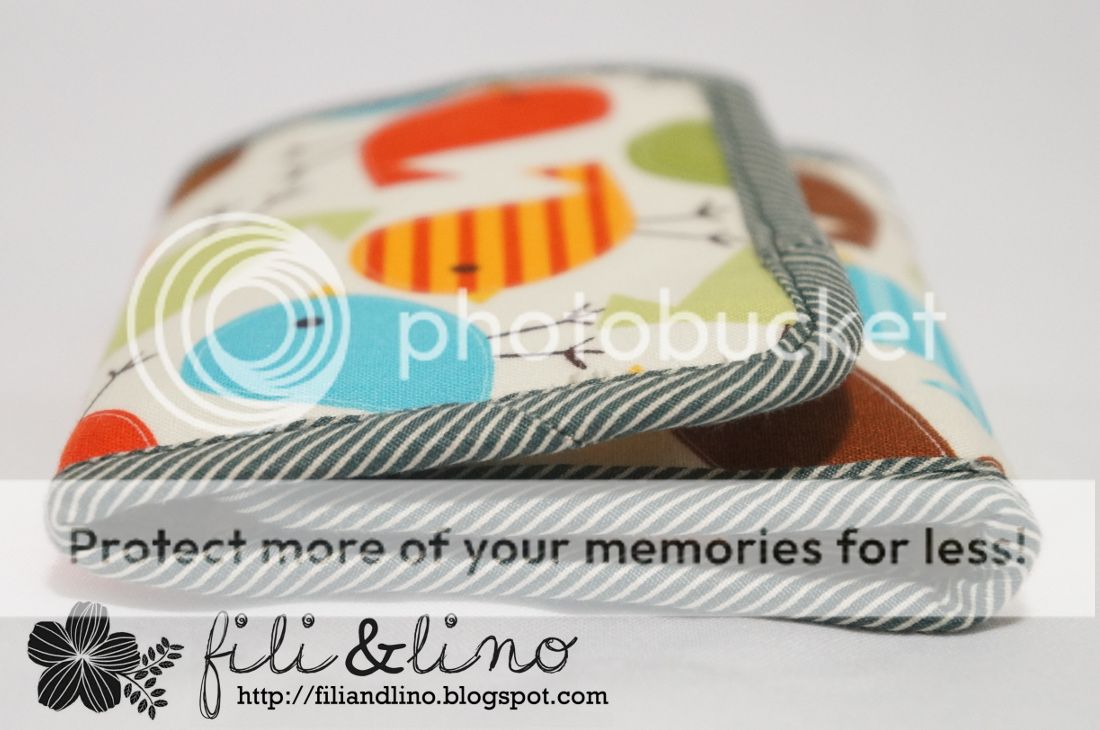
Neatly folded, which needs a little trick to sew it.
Why? Because if you have the same size inside and outside, when you put your cards/money inside, it will increase the thickness of the wallet and your wallet won't fold properly. That's what happened with my first wallet (that I gave to my housemate's daughter). Since then, I always cut the inside area 1 cm shorter (width wise) than the outside.
Voila!
That's the birdie wallet. Hope you enjoy it :D
Fili&Lino
Sunday, March 10, 2013
Burlap-but-not Clutch
Hola crafters, how's your weekend so far?


Today I would like so share my own party clutch. I've been obsessed with burlap since I found out how versatile it is. Not to mention I found this type of burlap that's very soft and smooth. I decided to combine this burlap with my fav Sea Garden Summer fabric from Cosmo Cricket. The size of this clutch is approx 27x17 cm. It's big enough for your wallet, mobile phone and some simple cosmetics. I also attached a strap so I can just hang it on my wrist.

The design of this clutch is not very original. I used the flap pattern from Amy Butler's Style Stitches book. I add the width of the flap aroun 7 cm from the original. As for the lining, I used a cream cotton fabric and medium fusible interfacing for the flap and the burlap.
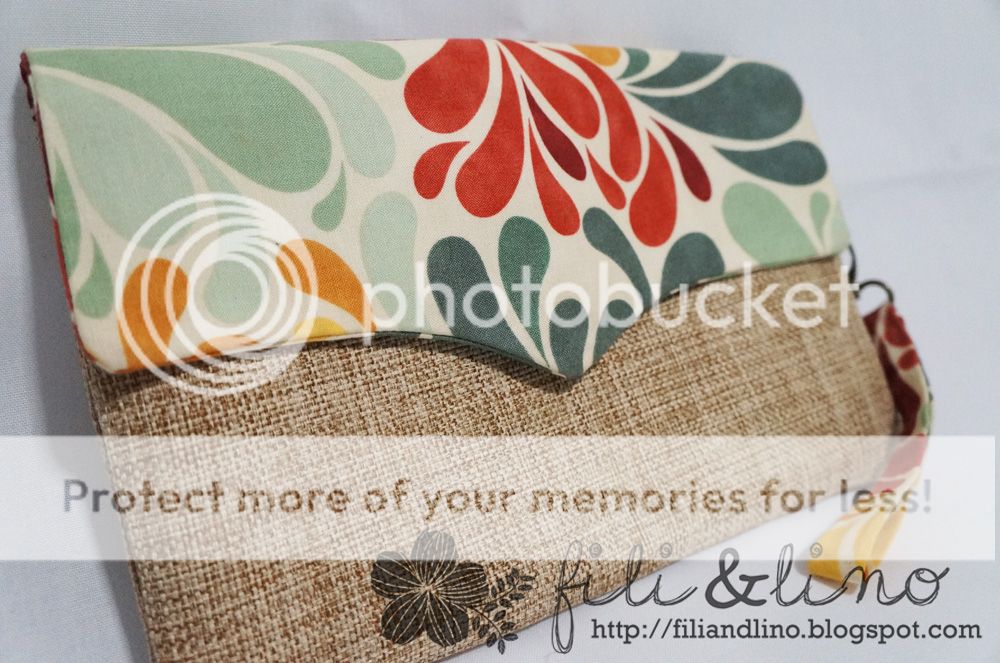


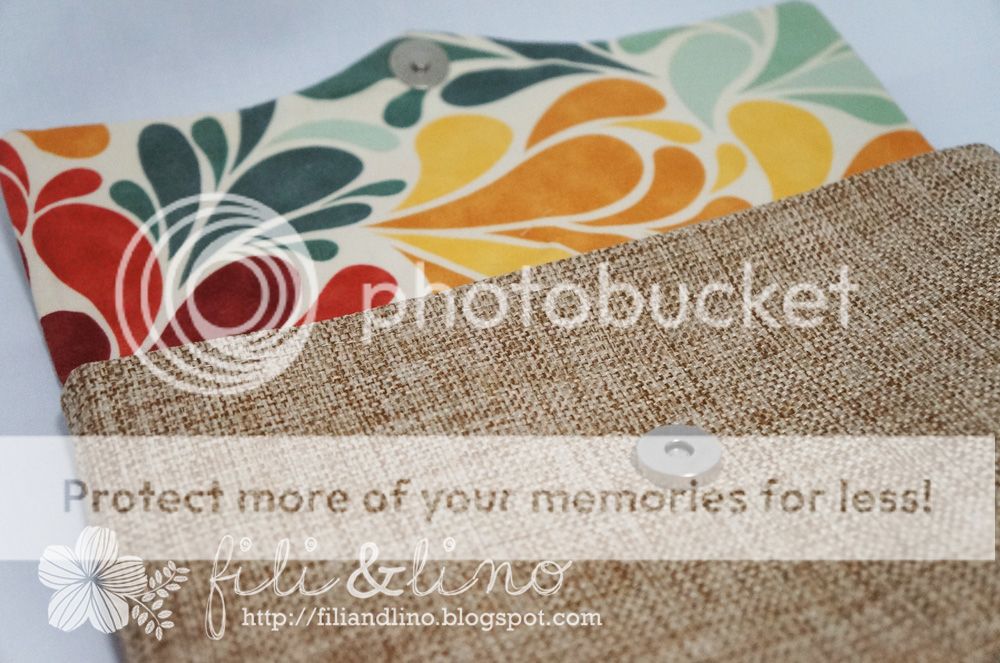
So yeah, basically if you found me at any party, you'll see me with this burlap clutch. Who says burlap can't go to party?
Lino
Friday, March 1, 2013
Rolling Daruma
Hello,
This time we present you a tutorial on how to make a daruma pouch. You can find more about daruma here.
FYI, we had a 24 daruma projects before and this is some kind of a continuation of that project.

This time we present you a tutorial on how to make a daruma pouch. You can find more about daruma here.
FYI, we had a 24 daruma projects before and this is some kind of a continuation of that project.

Saturday, February 23, 2013
A craft blog: our work list so far!
Yo yo yo, it's Lino again.
Today I would like ramble a bit about what we do at the moment.
Fili&Lino is starting to be active offline and online. We're planning to blog more often and share more stories about crafting. Not to mention we have quite a big plan ahead. Probably around May? We'll tell you when it happens.
Now, I would like to thank ALLLLLL readers and friends who participated and commented in our giveaway post. We still have 4 more days to go, so if you read this and still haven't join the giveaway, be quick :)
Next, the waiting list for Fili&Lino custom order is loooonnggg. So far, both Fili and Lino have around 16 stuffs to make until next month. Tiring, but we're happy making each of them. To make it quick, I simultaneously make five things at once, even though each of them are different. This is my first five from the work list:

(L - R: Tote Bag, Tote Bag (different size and shape), passport case, pencil case/pouch, hand bag).
So far, I finished adding the fusible interfacing to four of them (minus the tote bag number 2 from the left) and finished the custom order passport case. Since I used to travel quite often, I have this kind of idea on what should I have on my passport case. This is the result:
Passport case: two sleeves, one zippered sleeve, card sleeve, one pocket in passport size and a pen place.


My friend specially requested this type of pattern. Why? Because it looks like one of Kimura Takuya's wardrobe <3 Unfortunately, even though it is 100% cotton, the fabric somehow quite coarse and the checker can't line properly. It keeps on leaning to one side. But thankfully my friend is very happy with the result, so...
That's all from Lino today.
Stay tune because Fili have something for you soon.
Cheers!
Fili&Lino
Subscribe to:
Posts (Atom)